Monday, October 22, 2018

Post #19 - Paneling & wheel wells installed

I spent the last few days putting the birch paneling on the street and curb side walls, glueing, stapling and twisty nailing the paneling down to the wall frames.  I even learned how to use the router (thanks to my Hubby), and got the windows, door and other necessary holes cut.

I still have to decide what I want to use as trim over the areas where the panels meet. I'll either cut some strips, or purchase some screen door trim if I can find some in the next few days.

After I finished wall frames, I installed the wheel wells and covered them with insulation.

The wall sides are almost ready to put onto the sides of the floor frame, just need to drill a few holes for the bolts to go through.  Hopefully tomorrow or Wednesday I can get that done. Paneling the cabinetry is the next thing I plan on doing, then installing it all into the trailer.

More next time.

Friday, October 19, 2018

Post # 18 - Marmoleum flooring

After the floor leveler dried for a week while I was camping at Hailey. Idaho with some of my Sisters On the Fly friends, I could finally turn my attention to the marmoleum floor installation.

First we unrolled the flooring and laid it down on the trailer floor so it would stretch and flatten out for a few nights.
Then we cut the Marmoleum sheet to length and cut the wheel wells out, and let it lay and stretch out for another day.  

Today we went out and glued it down, first the street side, then the curb side.  After rolling repeatedly we added weight to the edges, and clamped some 1 1/2" boards to the edges, and rolled again.  Tomorrow I will roll again, cover the flooring with RAMboard, plus heavy craft paper to protect it through out the rest of the build. 

Done for today - more later.

Monday, October 8, 2018

Post # 17 - Floor to ceiling frames & priming - leveling floor.

This week was hard to get motivated to do more work on the trailer because it has been so cold outside in the mornings, but I bundled up and faced the cold.

I sanded all the remaining paneling off the fronts and sides & due to rot I had to remove and replace some of the wood in almost every cabinet in spots. Plus I added some extra support in the sides of the closets so I can hang a few things up without worrying about backing that was only 1/8" thick.  I think I figured out how the kitchen cabinet drawers were originally built - I think what I did will work fine once I get the drawers built.

I also built a framework for the converter/fuse box so I can just slide it in and attach it to the frame.

But this week I did meet my goals to have all the cabinets framework ready to put the paneling on, primed the plywood floor and got the leveling compound on to smooth it out (hubby helped a bit - that bag of stuff was heavy) in anticipation of the Marmoleum flooring.  After I take a week off waiting for the weather to warm back up again, I plan on installing the Marmoleum flooring, putting the paneling on the inside walls, & cabinets, reinstalling the wheel wells, putting up the sides and attaching the cabinets. If it all works out I'm hopeful I can start the wrap by November.  We shall see how much I actually get done.


Friday, September 21, 2018

Post #16 - Shellac and cabinet frames

Finally able to get back to work on the trailer after a summer of camping and work.

I just finished putting 4 - 5 coats of Amber Shellac, and 1-2 coats of Clear on my 16 sheets of my birch plywood.  I sanded after 3 coats with 220 grit sandpaper, applied another coat and then sanded again with 320 grit.  I put two coats of clear on most of the sheets which I will sand again and apply another clear coat after installation. I ended up with 4-5 sheets that turned out lighter than the others so they will be used on cabinetry and in hidden spaces.

After I got to this point I started rebuilding the framework of the bench seats and upper cabinets.  I rebuilt the seat front framework because I wanted it stronger that it was, and on the upper cabinets I am reusing as much of the original wood as possible - just replacing the sections with rot or rusted out nails.


That's it for now... till next time.

Tuesday, June 19, 2018

Post #15 - Curbside framework

I spent a couple of days working on the curbside framework, sanding the remnants of the old paneling off of the inside, filling holes, and pulling the rest of the staples and pin nails out before hand.  I then flipped it over and filled the screw holes with match sticks and a few toothpicks, Sanded, pulled the rest of the staples, & pin nails.  I then spent a few days cutting and placing the insulation in. My plan for wiring:  melting holes through the insulation with a long metal rod, or the insulation cutter. Works great, I just feed the wire through and place the insulation back in place. You may notice a difference in  a few photos -  I forgot to flip the insulation over so the foil was inside, so I had to recut a few pieces. I made sure my vents would still fit in their spaces, and removed the silicone from around the large vent they'd put on to prevent leaks. This vent needs a new gasket around it, and new lock.   Now I'm going to be schellacing the birch plywood with Amber Shellac - using the French Polish method.


Thursday, May 24, 2018

Post # 14 - Streetside and Curbside framework

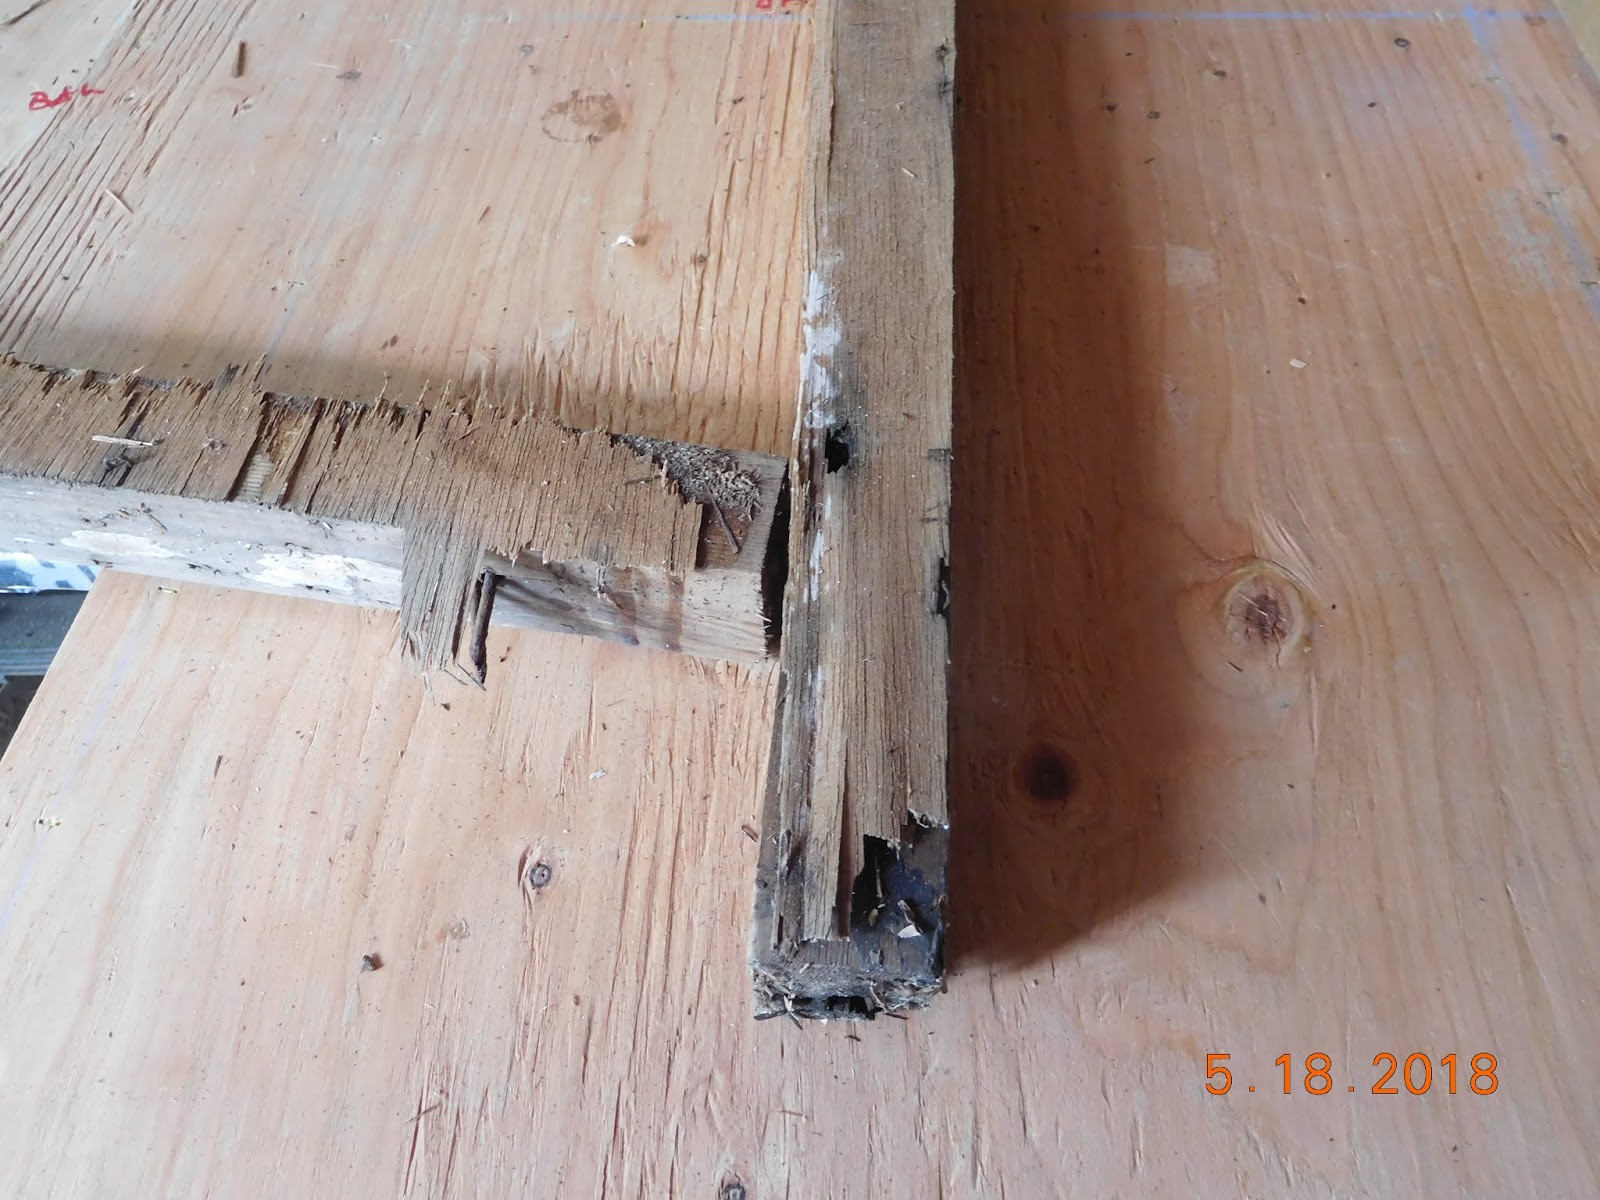
I've spent the past two weeks or so pulling staples, nails and screws out of the framework for the streetside and curbsides.  I've also removed the most rotten wood and replaced it with new, and reinforced where the wood was questionable in a few spots. My foam cutter came from Amazon so I insulated the streetside - when I can find the time I will do the same thing for the curbside framework. (Camping season has arrived).  The outside curved edges were replaced with 1/4" X 1.5" strips, glued and stapled to make it 1.5" thick (or as close to it as I could get it).  I'm glad I had lots of clamps, but still think I could have used a few more of the screw to tighten type (see the last photo). Lots of photos of the black rot in the perimeter framework.


In the background of this photo
is the interior of the streetside framework, already cleaned up, repaired, & insulated, with wires for the lights run through the insulation and framework. 


Clamping the new curbing over the curve in the front.  Did the same thing for the back end.


Monday, May 14, 2018

Post #13 Gluing and Stapling Floor Frame

We spent a few days cutting down the 3 sheets of plywood to match the floor framework and positioning it into place.  Then I propped it up and glued and stapled it down. I also added a few 2 1/2 inch screws to a few spots for added strength.  Once that was done we made sure the whole thing was in place on the frame and used T-Nuts and bolts to attach it to the metal frame around the edges, and added a row down the middle.  It should never fall off the frame.


I also did a little wiring to the junction box, The breaks, and breakaway switch, and 7 pin connector are ready to be used.  All I have to do is add the trailer wiring when it's ready to go. 


Saturday, May 5, 2018

Post #12 - Wheel wells & battery box

Thursday May 3rd, I cleaned up the wheel wells, straightened the edges and flattened the nail holes.  I plan on spraying undercoating on the inside to help protect them from rocks and other debris.  I've ordered new wheels from Vintage Trailer Supply and they should be here next week.

I also cleaned up the edges of all the windows a little - most of the butyl tape residue is gone... I do need to replace 3-4 cracked window panes when I get back to working on them. 

Joe spent the day creating a new battery box for the front of the trailer. cutting and welding it together.  It's going to look sharp and protect the battery, junction box, and breakaway switch battery & box. 

I'll post photos when they are all done.
Here are a few photos of the battery box Joe made for the trailer this past weekend, after paint.

Wednesday, May 2, 2018

Post # 11 - Bearings and floor insulation

These past few days have been spent re-greasing the bearings, replacing what needed to be replaced (seals, bearings, z rings), fixing what needed to be fixed and reinstalling into the hubs. Glad I have a multi talented husband that is willing to do that for me.

I ordered a styrofoam cutter from Amazon and it came today, so I cut all the 1.5" foam for the floor insulation and got it installed.  Worked out wonderfully - wished I'd gotten the cutter years ago... I just can't seem to get a knife to cut smoothly and I always leave little pebbles of styrofoam everywhere when I use one.  Melting it is way less messy - I love it.

I also spent a little time pulling the old butyl tape from my window edges, and checked over my range hood. I've got 3 broken jalousie windows I'll need to replace eventually, and many seals to replace. So much to do - never enough time.

Joe's building my battery box - photos later.  Along with the battery, I plan on putting my breakaway battery box in it as well as my junction box for the trailer wiring.

Post #10 - Subfloor and Frame

Spring has finally come and with it warm weather - it got close to 70 degrees here yesterday. Yay!!

My breakaway switch came this week as well as my junction box for the wiring.  We received the bearings, but the seals were not the right ones - I will have to call etrailer and see if they have items not on their website.

Last week I spray painted the underside and edges of the "belly pan" (5/8" plywood) with 2 coats of undercoating using about 9 cans. Then I flipped it over and covered the seams with 5" of aluminum flashing to tie them together, and covered it with 6" self-adhered flashing. It shouldn't leak

Once that was done I layed out the framework for the floor that I'd cut and marked a few weeks ago.  It got glued, stapled, nailed and screwed together - nice and strong.  Some would probably say I did too much, but more is sometimes better in my opinion.   Next week I'll be tackling the insulation between the studs, and putting on the plywood for the floor.  I'll be using this as a platform to work on the cabinets and framework for the sides.