Monday, November 25, 2019

Post # 36 * November - Trimming doors, fridge, and cabinets


The refrigerator cabinet is the first cabinet I put trim around and it looks pretty good.  I think I'm going to paint the door to match the range and range hood.

For some strange reason the new birch paneling started to delaminate around my kitchenette (first photo).  It was especially bad around the drawer units, so I had to come up with a solution to cover it. The space between the drawers was larger than the trim I had that I was using around the fridge and doors, so I decided to use some screen door trim that I was also using as trim over the seams. Since I had to use two pieces to cover the space I filled the groove between with some pencil molding I'd purchased for another project.

Delamination on cabinet

Screen door and pencil trims. 

Drawer unit trimmed.
Trim around all openings in kitchenette.


I'd always planned on putting cedar in the closet from day one.  I've found it easier to use if I cut off the tongue and groove edges and just glue it to the framework of the closet (held with 22 gauge pin nails).

Cedar T&G boards in the closet.


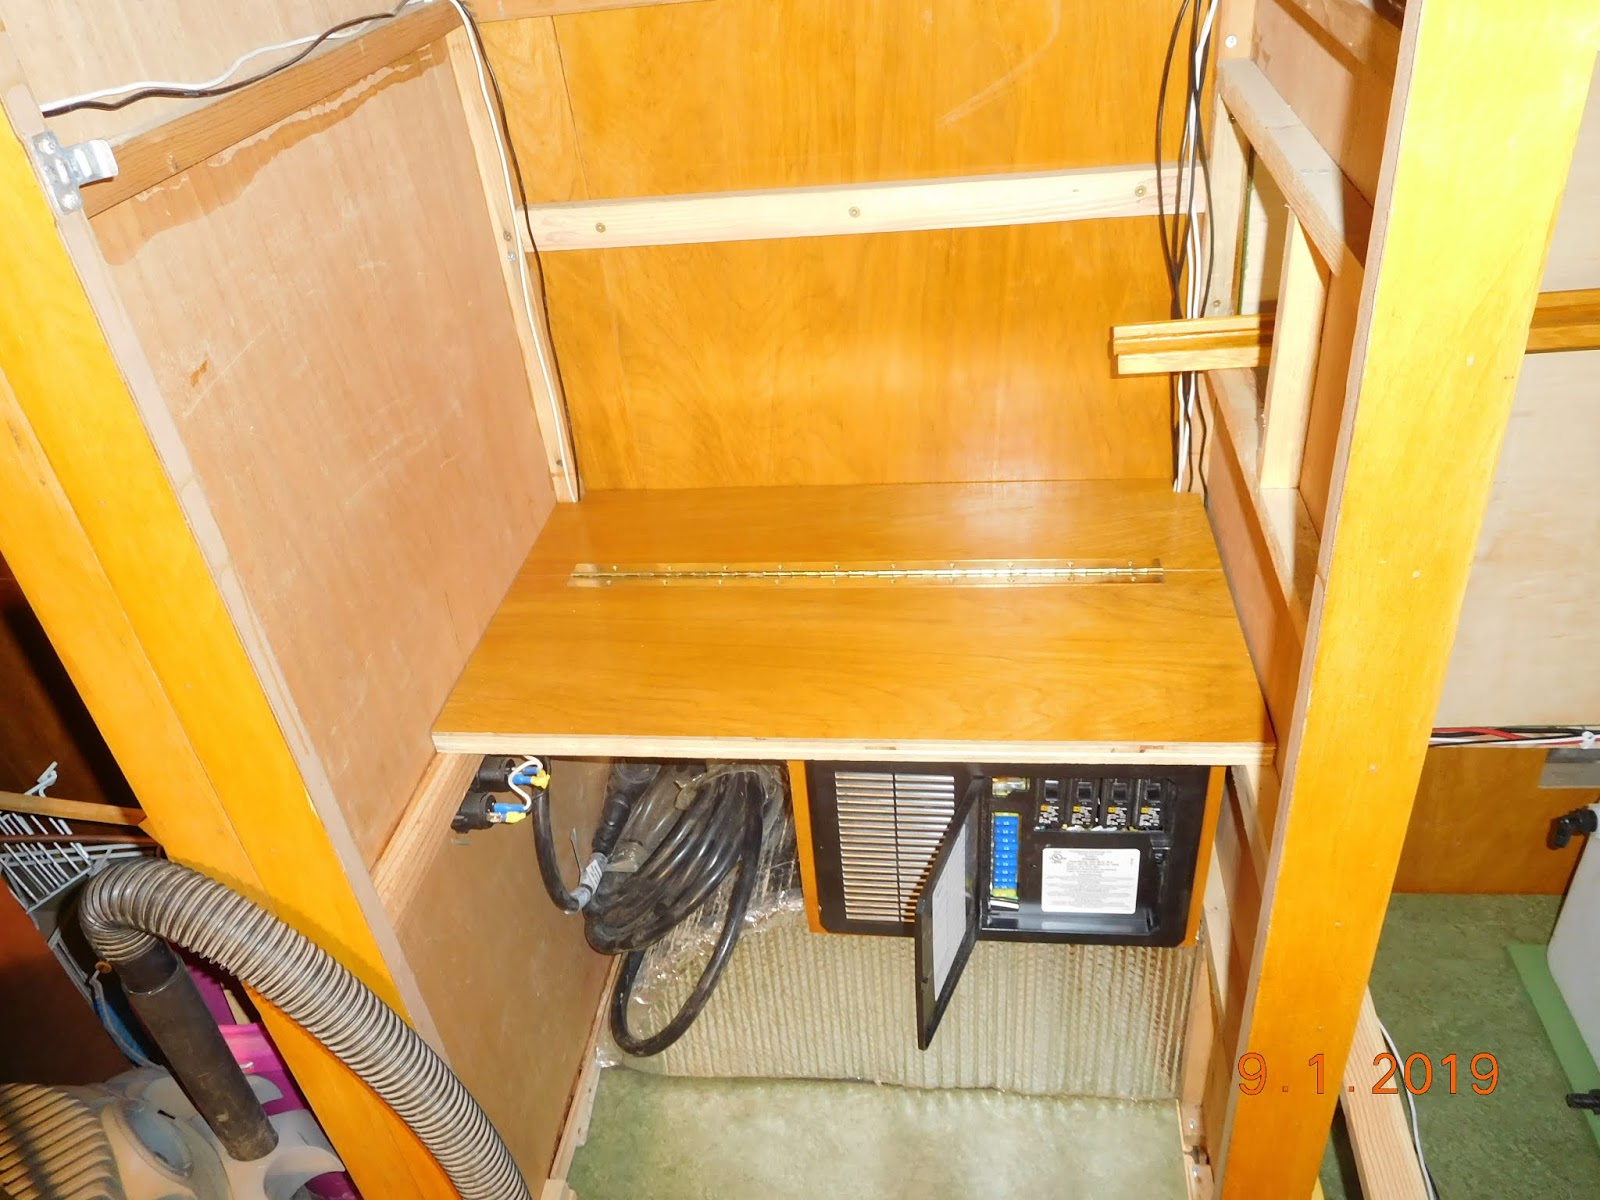
$5.00 Shelf in the closet & closet rod with the light.

I put quarter round moulding around the bottom edges of the cabinets that I didn't have gimp on to give it a finished look. For not having any training in woodworking, I think I've done a pretty good job. I still have to do a little touch up on some of the paint around the inner edges but every thing is looking the way I want it to. 


Trim around the lower cabinets in potty room. 

Trim around the closet and bathroom doors.


Trim around entrance door. 

Trim on inside potty room door.

 Lots of clamps and pin nails...


Post # 35 - Oct. into Nov. - Plumbing and Bathroom Cabinets.

After the electrical was done I turned to the kitchen and bathroom plumbing with pex pipe, fittings, and copper pipe for the water heater pressure relief valve. Then I started on the bathroom cabinets - one to hide the plumbing of the sink, the run to the kitchen, and one for the potty box to hide the bucket I intend to use with wag bags. 

Laminated toilet top without hole cut out. 

Toilet box with lid that lifts up for removal of bucket contents.
Sink cabinet frame unfaced. 

Water heater under kitchen sink - 4 gallons.

I also made a cover for the pump that is located in the bottom of the closet and a framed box cubby hole for the hole in the side of the closet. 

Hole in side of closet (where I originally was going to put the Converter - oops)

Bathroom cabinet door, cubby box, pump cover.

Finished cubby box.


View inside closet.


Post # 34 - September - Insulation, Wrap, Wiring


I can't believe I haven't posted anything since August, but I have been busy working on the trailer. So I will do 3 posts covering September, October, and November. 

I left off just before I finished  wiring and insulating the rest of the trailer - I had started the project using 1.5" foam insulation and had enough to finish the project.  But then I got a great deal on 6 rolls of fiberglass batting at $5 a roll - enough to finish the project.  It was much easier and quicker than to cut out more foam insulation so that's what I did.
FRONT

CURB SIDE - FRONT

CURB SIDE BACK

Once the insulation was done I wrapped the trailer with EverBuilt house wrap/Floor underlayment, taping all seams, but leaving an opening in the door so I could work inside.


The wiring project got done before I put the wrap on, so I could have lights to work by. The first photo is of the Ground buss bar at the back of the cabinet partially wired.  I made a frame to hold the Intellipower converter mounted under a shelf in the lower half of the closet.  Then realized I needed to have easy access to the back where all the wiring is so I cut it and put a piano hinge on it so I can flip it open.   I still ended up trimming the sides so I could open it when I put cedar on the walls.

Hubby finally came out ( about 20 days later after the wrap was on) and looked over my wiring progress and had me change a few things I had wired wrong and checked each circuit of the 12 Volt and 120 Volt systems. Everything works as it should.  Almost all lights are 12 volt and all outlets are 120 volts.


The one light that is 120 volt is the propane light fixture I converted using a Designer Clip light with a tiny base. The clip fits into the hole the mantle would have gone into and the wire is run through the pipe. Hubby did a little welding on the base to close the holes where the propane pipe came in and where the on off switch was located. Then we drilled a smaller hole and put in a pull chain to turn it on and off. When he was done welding I repainted it Bright Brass to match the rest of my hardware.