Monday, November 25, 2019

Post # 34 - September - Insulation, Wrap, Wiring


I can't believe I haven't posted anything since August, but I have been busy working on the trailer. So I will do 3 posts covering September, October, and November. 

I left off just before I finished  wiring and insulating the rest of the trailer - I had started the project using 1.5" foam insulation and had enough to finish the project.  But then I got a great deal on 6 rolls of fiberglass batting at $5 a roll - enough to finish the project.  It was much easier and quicker than to cut out more foam insulation so that's what I did.
FRONT

CURB SIDE - FRONT

CURB SIDE BACK

Once the insulation was done I wrapped the trailer with EverBuilt house wrap/Floor underlayment, taping all seams, but leaving an opening in the door so I could work inside.


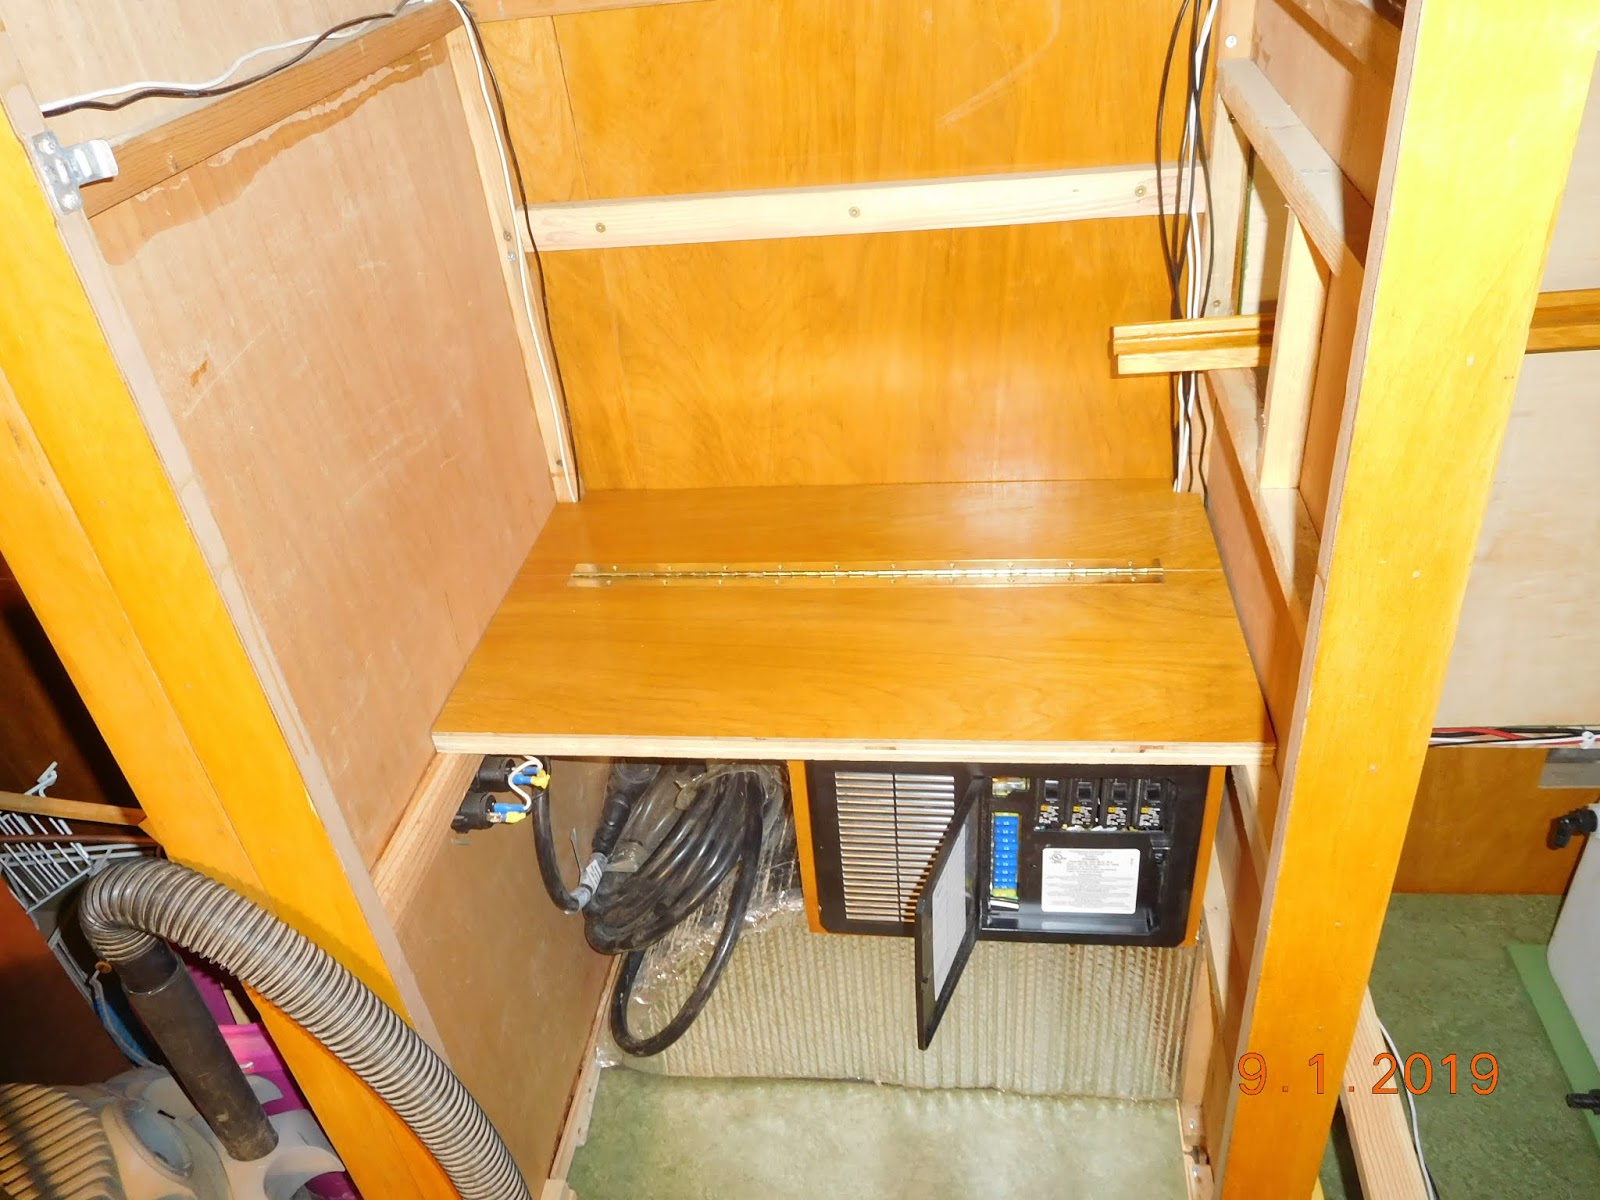
The wiring project got done before I put the wrap on, so I could have lights to work by. The first photo is of the Ground buss bar at the back of the cabinet partially wired.  I made a frame to hold the Intellipower converter mounted under a shelf in the lower half of the closet.  Then realized I needed to have easy access to the back where all the wiring is so I cut it and put a piano hinge on it so I can flip it open.   I still ended up trimming the sides so I could open it when I put cedar on the walls.

Hubby finally came out ( about 20 days later after the wrap was on) and looked over my wiring progress and had me change a few things I had wired wrong and checked each circuit of the 12 Volt and 120 Volt systems. Everything works as it should.  Almost all lights are 12 volt and all outlets are 120 volts.


The one light that is 120 volt is the propane light fixture I converted using a Designer Clip light with a tiny base. The clip fits into the hole the mantle would have gone into and the wire is run through the pipe. Hubby did a little welding on the base to close the holes where the propane pipe came in and where the on off switch was located. Then we drilled a smaller hole and put in a pull chain to turn it on and off. When he was done welding I repainted it Bright Brass to match the rest of my hardware.


Wednesday, August 14, 2019

Post #33 - Backsplash, counter top, bunk bed

To catch up:

I had to get the window trim done for the front window and installed, because the upper bunk actually butts right up to it ( Put the window a little higher than it should have been). Got that done and the 3 boards I used for the upper bunk hinged together with 72" piano hinges. If I haven't mentioned it earlier I shellaced all four boards used for the bunk, (both sides), with 3 coats of Amber shellac and two coats of clear.  I also rounded over both edges of the board I used as the front of the bed to hold cushions in place and installed it. I wanted it more as a shelf rather than a bed, but it will pull out to 39" when necessary.  When folded it is about 16" wide.   Looks really nice.

Bunk bed - looking up from outside from front window opening


Got the bunk done and moved on to prepping for the backsplash.  I decided to make the backsplash around 9" above the counter top and added 1/16"  edge trim and 1/2" cove molding around the edges to make it look nice.  First I had to make templates with cardboard in order to get he angle right along the back. Plus I had to get the outlet located right before I cut out the expensive laminate.

Once I taped off the area I wanted the back splash to attach to, I sanded with 150 grit sandpaper to roughen it up a bit so the laminate would have something to stick to.  Afterwards I got the templates made and the laminate cut out, so my husband could make the 45 degree angle cuts on the corners of the 1/16" edge trim.  I then glued the trim to the edges of the laminate pieces & let them dry. Once it was firmly attached to the laminate I used Gorilla Glue construction adhesive and attached the trimmed laminate  to the walls.


I had the counter top cut out and laminate already glued on & ready to install once the backsplash was put on.


Here's the counter with the Red Range placed in its spot. 


Plus I put in my faucet and soap dispenser...


 While waiting for the glue to dry Thursday morning, I glued the laminate to the two tables I planed for the trailer.  Both will be removable - one will be a swivel table and one will be affixed at the front when I want to use, it or outside when I don't. 

Here is the swivel table top done and installed on its leg. I think it is going to come in really handy as I can raise it and lower it too.


Sunday and Monday this week I spent putting some more curbing over the edges in the front and street side back edge.  All I need to do now is from the top of the windows and over the top on both sides, Then I can finish insulating, put house wrap on, and order the new metal skin.


Saturday, August 10, 2019

Post #32 - Window trim

In order to install my upper bunk bed I needed to install my front window trim. This meant I had to get the white and tan paint someone put on some of the window trim stripped off.  From the factory they looked really nice - powder coated with a nice light brown and fine texture painted over the top - which I would have left alone if all the trim were the same color, but they weren't.  After stripping the crappy paint off I noticed I was not going to get them down to the aluminum, because of the powder coating, so I painted them a complementary color of Antique Brass Metallic.  I think they turned out really nice.  We'll see how they hold up.
Covered with strpper.
More covered with stripper.

A few painted, turned out really nice. 

More to come -

Sunday, July 7, 2019

Post #31 - Catching up - wiring, fridge, propane lines

I can't believe I haven't posted since April, but I've been busy Camping, getting ready for camping, and working on the trailer.

We just installed the tiny sink and faucet in the bathroom  - I still need to build a cabinet to hide the plumbing and connect water to it, but I think it looks really cute.  Glad I will be able to brush my teeth somewhere other than in the kitchen sink.


Other items I've completed since Aprils last posting.


Curb side cone light installed. Still have to create doors for these upper cabinets, since they'd removed them before I bought the trailer.


Street side cone light and upper cabinet. 


Upper bunk boards, still have to put the hinges and front edge board on.


View of the upper bunk from underneath.


Closet wiring area. The converter/fuse box will go into the frame under the shelf and be wired there.  The outside cord will be hard wired into it, and all wires except the refrigerator will go there too.  Refrigerator will go directly to the battery. 


I started to add curbing to the back edge one day to see how it would go.  Worked well so it should go pretty quickly when I get to that point. 


USB charger, cigaret lighter outlet for charging, and a meter for the battery, all on an on/off switch so it won't draw down the battery when not in use. 


Cabinet over the refrigerator baffle back sealed up.  Still need to paint the putty around the edges to make it blend in better. 


The refrigerator cabinet with the 2 vents, and (from right to left) switches for the porch light and upper light,  the outlet for fridge and light, a junction box for out side and front outlets and propane connection.

If I didn't mention it before this trailer came with a brown range and hood. I managed to purchase this reddish one from my friend Penny, who wanted a cream one in her new old trailer.  I love it - as it brightens the whole look of the interior. I may still put the original fan in behind the stove top, so I have more venting capability. 

Someone had put in a short duct that only filled about half the cutout for it, so my hubby created a new one that filled the entire hole. I removed all the wiring, fan, and hardware that could be removed. Then I gave it a light sanding, cleaned it well, and repainted with automotive paint.  Afterwards I put everything back inn place and installed it - looks pretty good.  

I took the top off of the range (so things couldn't fall on it & chip the porcelain)  & dry fit the range to see if it will fit, and figure out how to cut the counter top out around the range.  I hope to get the counter top ready to instal in the next week or two. 


I spent a quite a few days cleaning the old silicone and butyl tape goop off of the refrigerator vents and 9" rooftop vents with WD-40, 0000 steel wool, and lots of elbow grease. Still have to spray with aluminum brightener, and polish, but it is one step closer to being ready to install. 
More to follow...

Wednesday, April 17, 2019

Post # 30 - Wiring, & electrical boxes

I had a general plan on where I wanted to place my overhead lights and outlet boxes before I started this part of the project, but a few things always come up that make me change something. Like finding great deals on vintage lighting...

And wiring a trailer is challenging, but doable, when you're not an electrician.  Good thing I know one or two...

I've decided to put the small light that was in the old bathroom into the ceiling of my closet, and use the square light from the living space in the bathroom.  This is because I found 3 round lights at the Highway 31 yard sale in Northern Pend Oreille County last September, that I thought would look amazing in the trailer (really inexpensive). Plus I found 2 silver cone lights for $27 bucks at a Junk Show to put at the end of the two new cabinets I had to replace.   I just cleaned up all the lamp bases and painted with Rustoleum Metallic Brass. So they will all match each other plus the cabinet hardware.

I've gotten almost all the 12 volt light boxes and lamp bases in including the switches wired with 14 AWG wire. I have one more to go - and two lamp bases to install, the 12 volt pump, and the range hood and light. Then I will move on to the outlet boxes which will all be 120 volts. I'd originally planned on putting 3 outlet boxes up front on the shelf, but I think I will cut it back down to one that has two outlets and two USB ports for charging things.  I have another USB port I plan to use else ware in the trailer., so it should be good enough for one person or maybe two If the hubby comes along.

My refrigerator that I purchased is a 3 way - propane, 120 volt and 12 volt which will run when it is being towed.  I've gotten the 12 volt and 120 volt wires run, and the outlet wired for the 120 volt, and we still have to run the propane lines to it.  The 12 volt part was a bugger to figure out, so I consulted with Larry from Mobiltec - cannedhamtrailers.com and he strongly suggested I have a professional wire it for 12 volt, because they have to wire the tow vehicle too.  But I went ahead a ran 10 AWG red (they didn't have white) and black wires (recommended by the tech I talked to) to the front of the trailer, so when I take it in to a technician, they just have to make the connection to the car.

I ran the wires from the back of the cabinet (where the fridge will go) down to the wheel well and across the wall support for the curbside bed.  I will drill a hole at the bottom front of the trailer to run it outside and through some conduite to protect it over to the tongue.. I will do the same for the 8 AWG wire I will use to wire the converter to the battery at the front of the trailer.


 I plan on putting in some pink puffy insulation where the wiring is because the foam just won't work in those sections.  Plus I have to corral some of the wires together with some tape and or wire staples so it looks a bit neater.

Not everything will be brass - the New Humphrey propane light will remain brown, and the range and hood will stay a reddish color. The sink is a peachy kind of color - which I can live with.

More later...

Tuesday, April 9, 2019

Post #29 - Ceiling, joists and vent holes

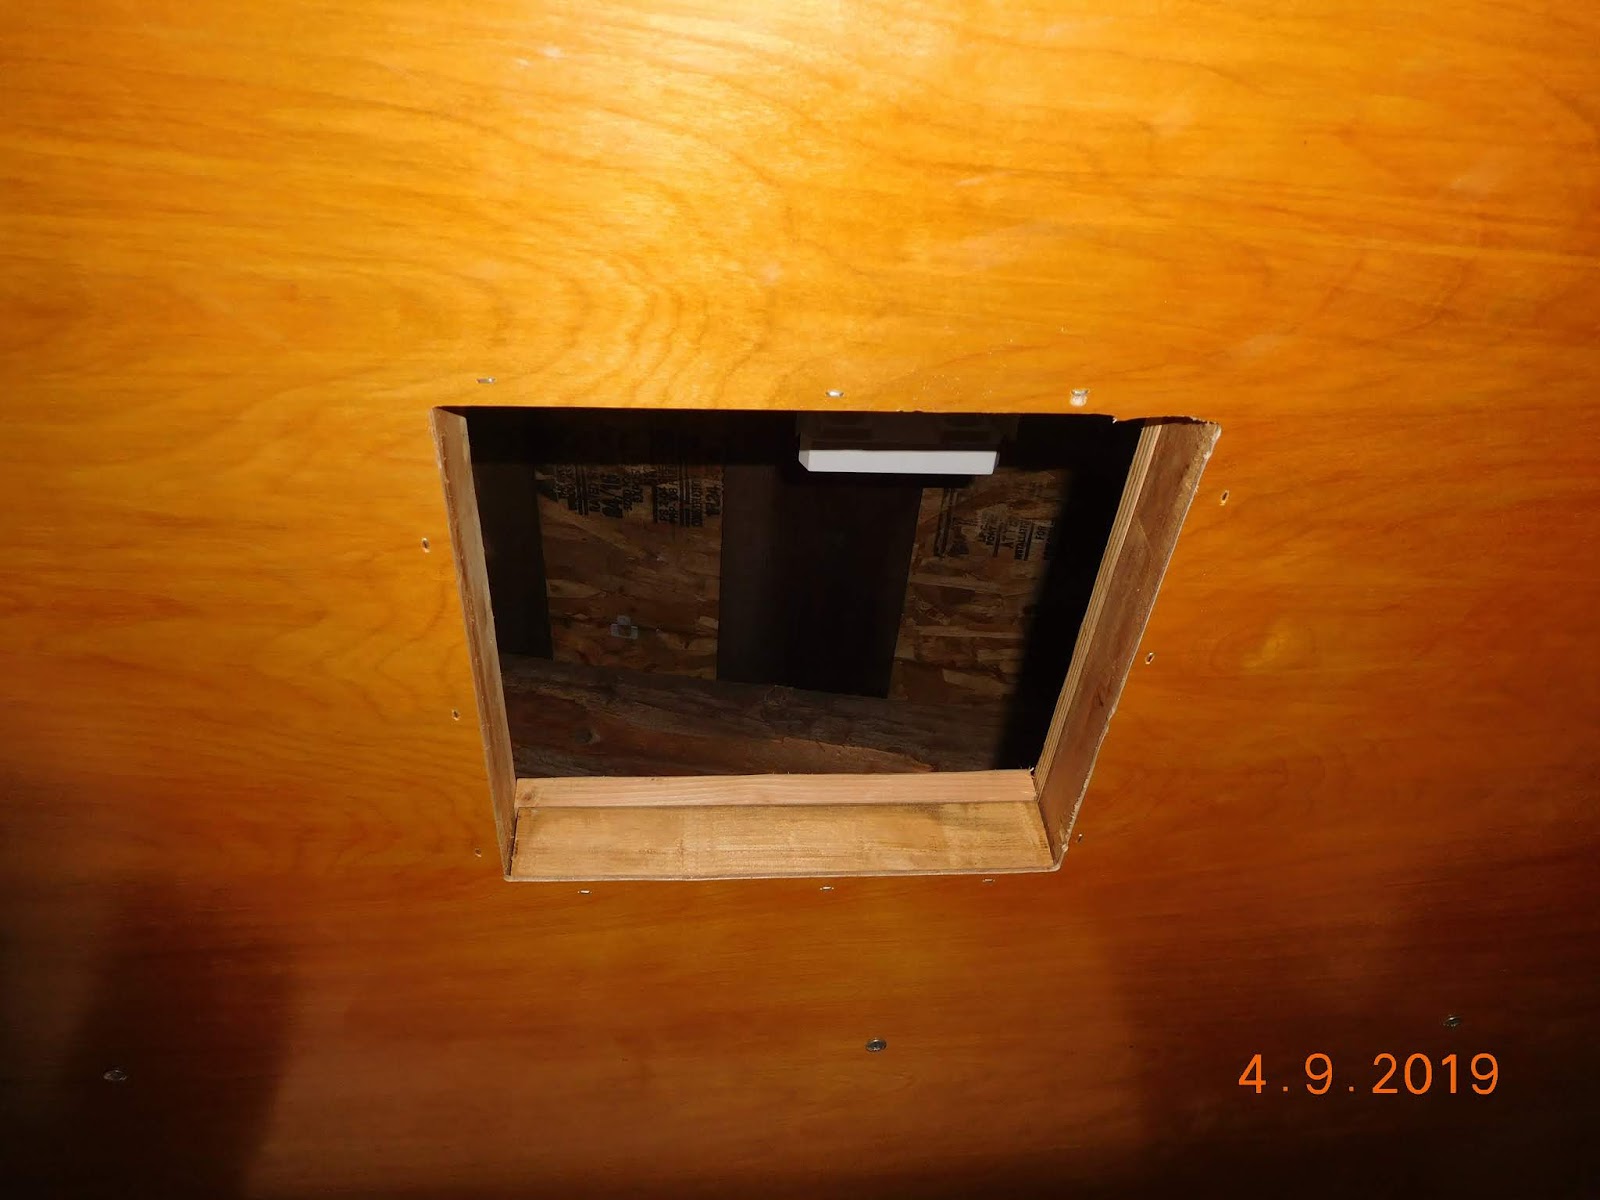
Last week despite the rain and cool weather, we managed to get the rest of the panels shellaced and installed.  Every rafter was attached with two 3" screws and the paneling was stapled with 3/4" long, X 15/16" wide staples. Shouldn't be going anywhere.  The front cabinet was screwed into the paneling for strength along the top and middle.  Still need to put the top board on it, but have to shellac it first. I also cut out the living room vent hole and the hole for the upper refrigerator vent. Tomorrow I'll have to cut out the vent hole in the bathroom ceiling, and put pounding more twisty nails through the paneling into the rafters. 


After everything is nailed in and cut out the next item to do is running the 120 v and 12v wiring so I can add the curbing to the edges, and insulation from front to back.